A shared mailbox makes it easy for a group of people to monitor and send email from a public email alias like info@contoso.com. When a person in the group replies to a message sent to the shared mailbox, the email appears to be from the shared address, not from the individual user. In classic Outlook, you can also use the shared mailbox as a shared team calendar.
Tip: If you're a small business owner looking for more information on how to get Microsoft 365 set up, visit Small business help & learning.
A shared mailbox is not designed for direct login, though. The user account for the shared mailbox itself should stay in a disabled state.
Tip: Before you can use a shared mailbox, the Microsoft 365 admin for your organization has to create it and add you as a member. For more information, see Create a shared mailbox, which describes what the admin needs to do.
Add a shared mailbox to Outlook
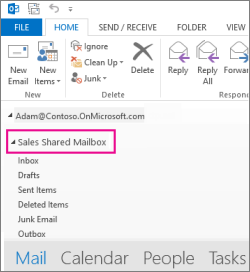
After your admin has added you as a member of a shared mailbox, close and then restart Outlook. The shared mailbox should automatically appear in your Folder pane in Outlook.
What if it didn't work?
If your admin only recently added you to a shared mailbox, it may take a few minutes before the shared mailbox appears. Wait a bit and then close and restart Outlook again.
If that didn't work, then manually add the shared mailbox to Outlook:
Open Outlook.
Select the File tab on the ribbon, then select Account Settings > Account Settings.
Select the Email tab.
Make sure the correct account is highlighted, then choose Change.
Choose More Settings > Advanced > Add.
Type the shared email address, such as info@contoso.com.
Choose OK > OK.
Choose Next > Finish > Close.
Send mail from the shared mailbox
Open Outlook.
Choose New Email.
If you don't see the From field at the top of your message, choose Options > From.
Click From in the message, and change to the shared email address. If you don't see your shared email address, choose Other email address and then type in the shared email address.
Choose OK.
Finish typing your message and then choose Send.
From now on when you want to send a message from your shared mailbox, the address will be available in your From drop down list.
Whenever you send a message from your shared mailbox, your recipients will only see the shared email address in the message.
Reply to mail sent to the shared mailbox
Open Outlook.
Open the email message you want to reply to.
In the From field at the top of your message, you should see the name of your shared mailbox. If you don't, choose the From dropdown box and choose your shared mailbox.
Finish typing your message and then choose Send.
When you want to send a message from your shared mailbox, the address will be available in your From drop down list.
Whenever you send a message from your shared mailbox, your recipients will only see the shared email address in the message.
Search on the shared mailbox
Once a Shared Mailbox is added to Outlook, searching within it is similar to searching on a Primary Mailbox.
Open Outlook.
Select a folder within the Shared Mailbox on the Folder Panel on the left.
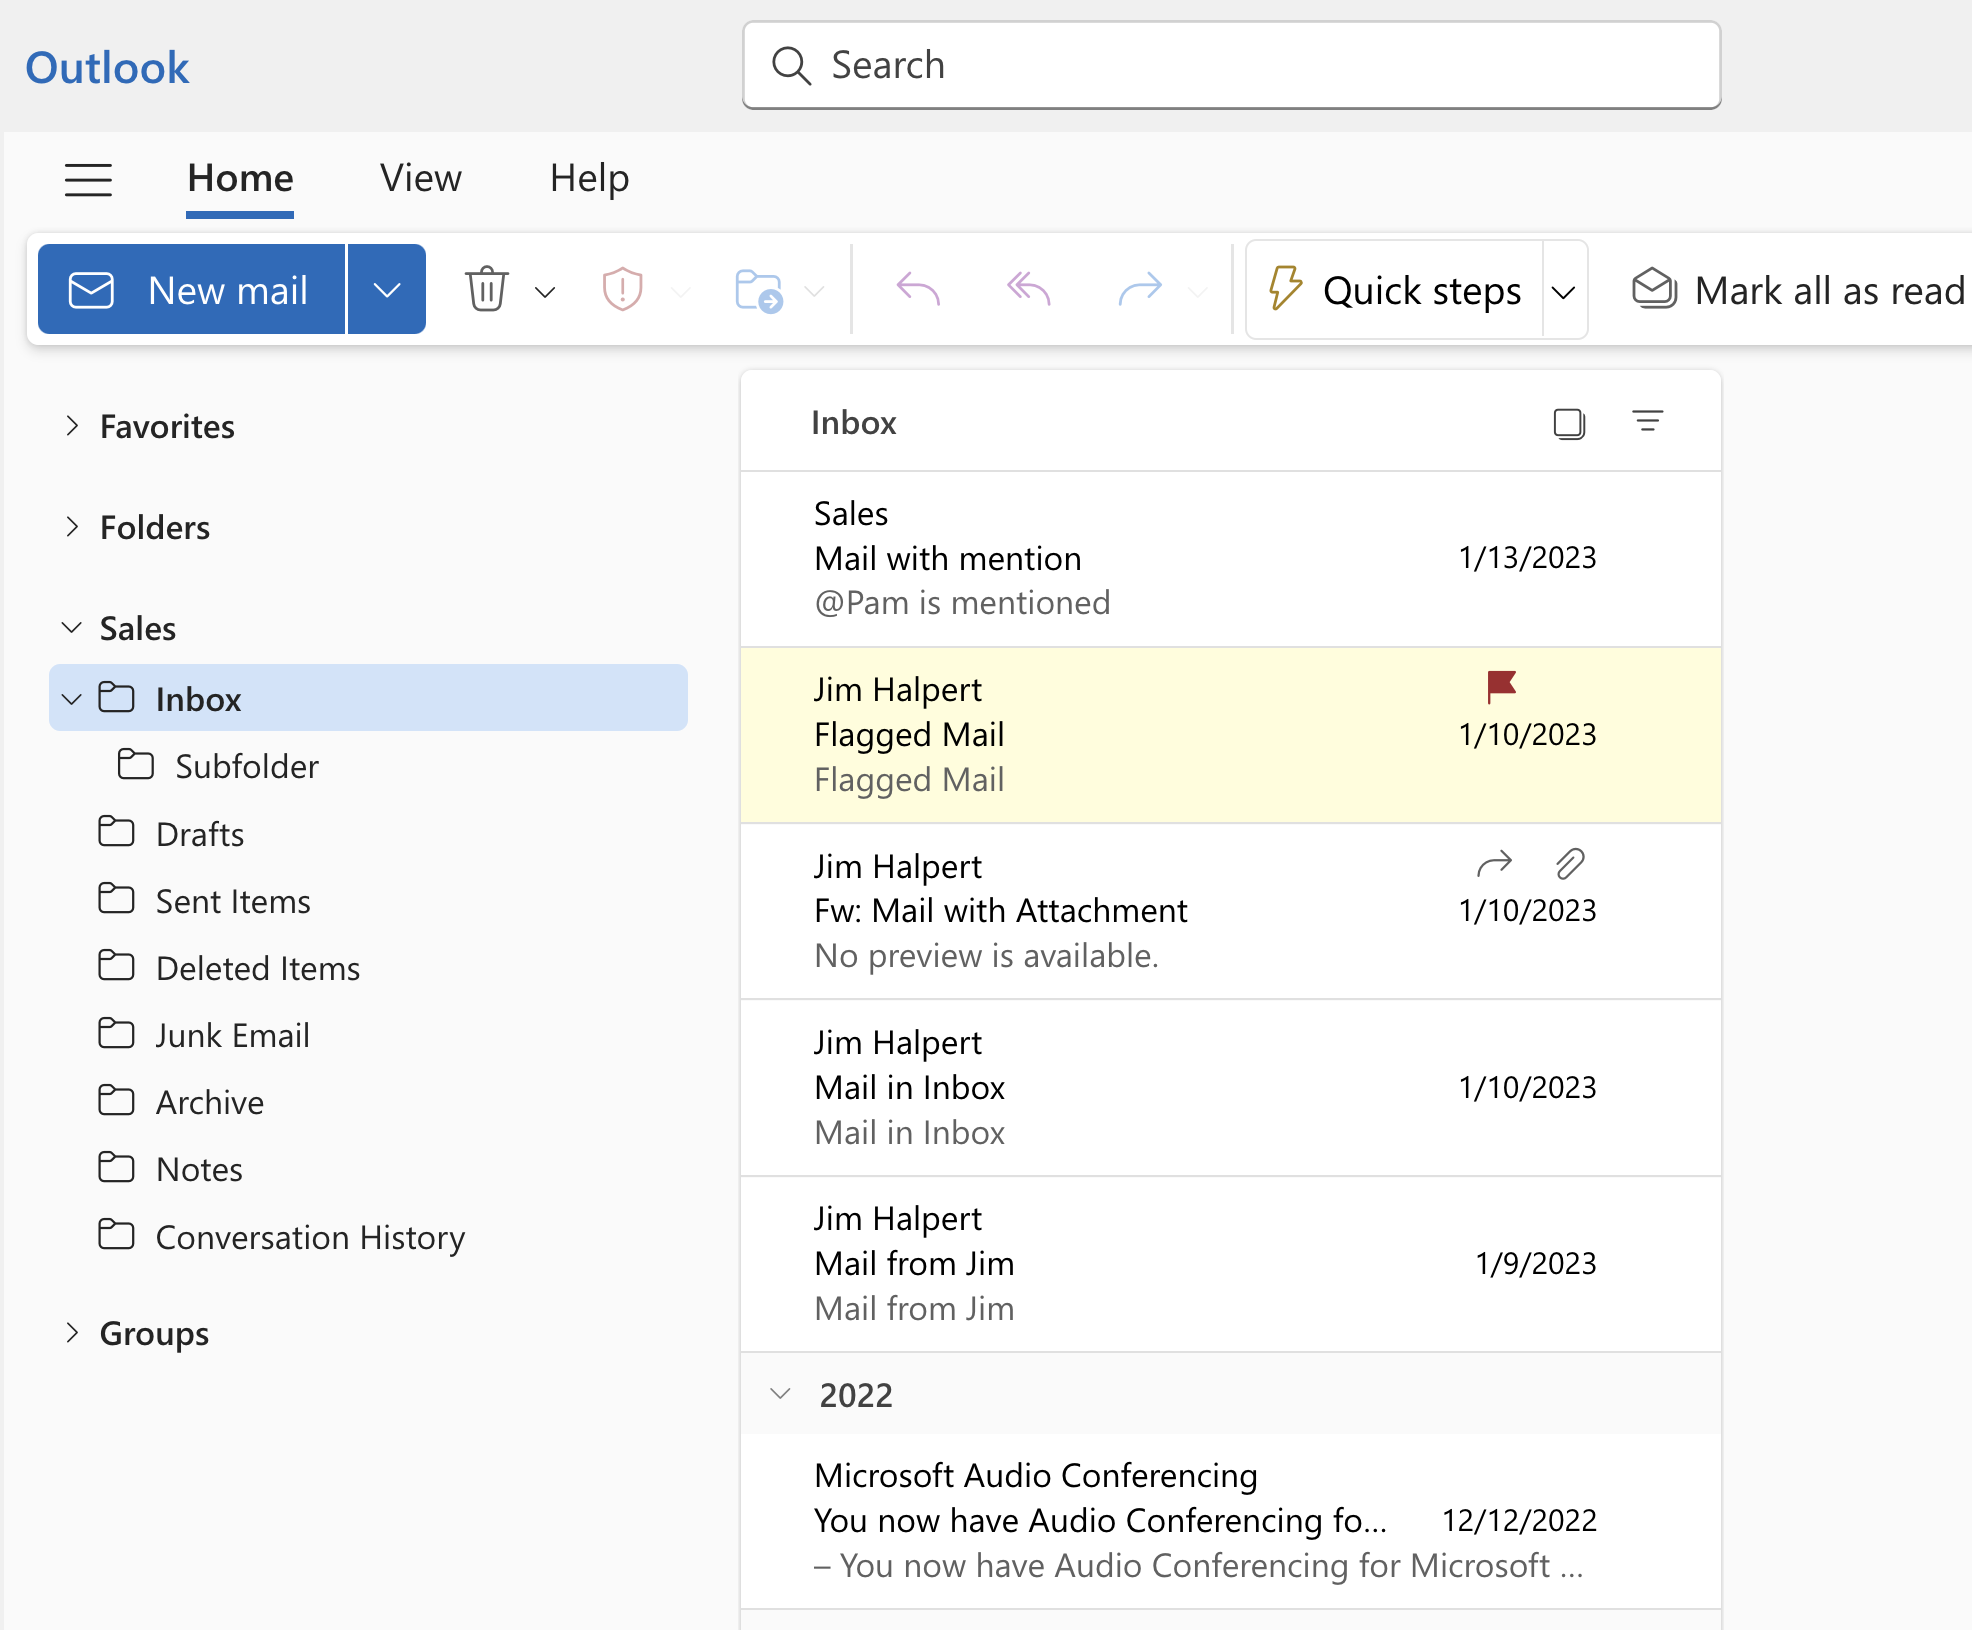
Type the query in the Search Box on top of the Ribbon (Tool Bar).
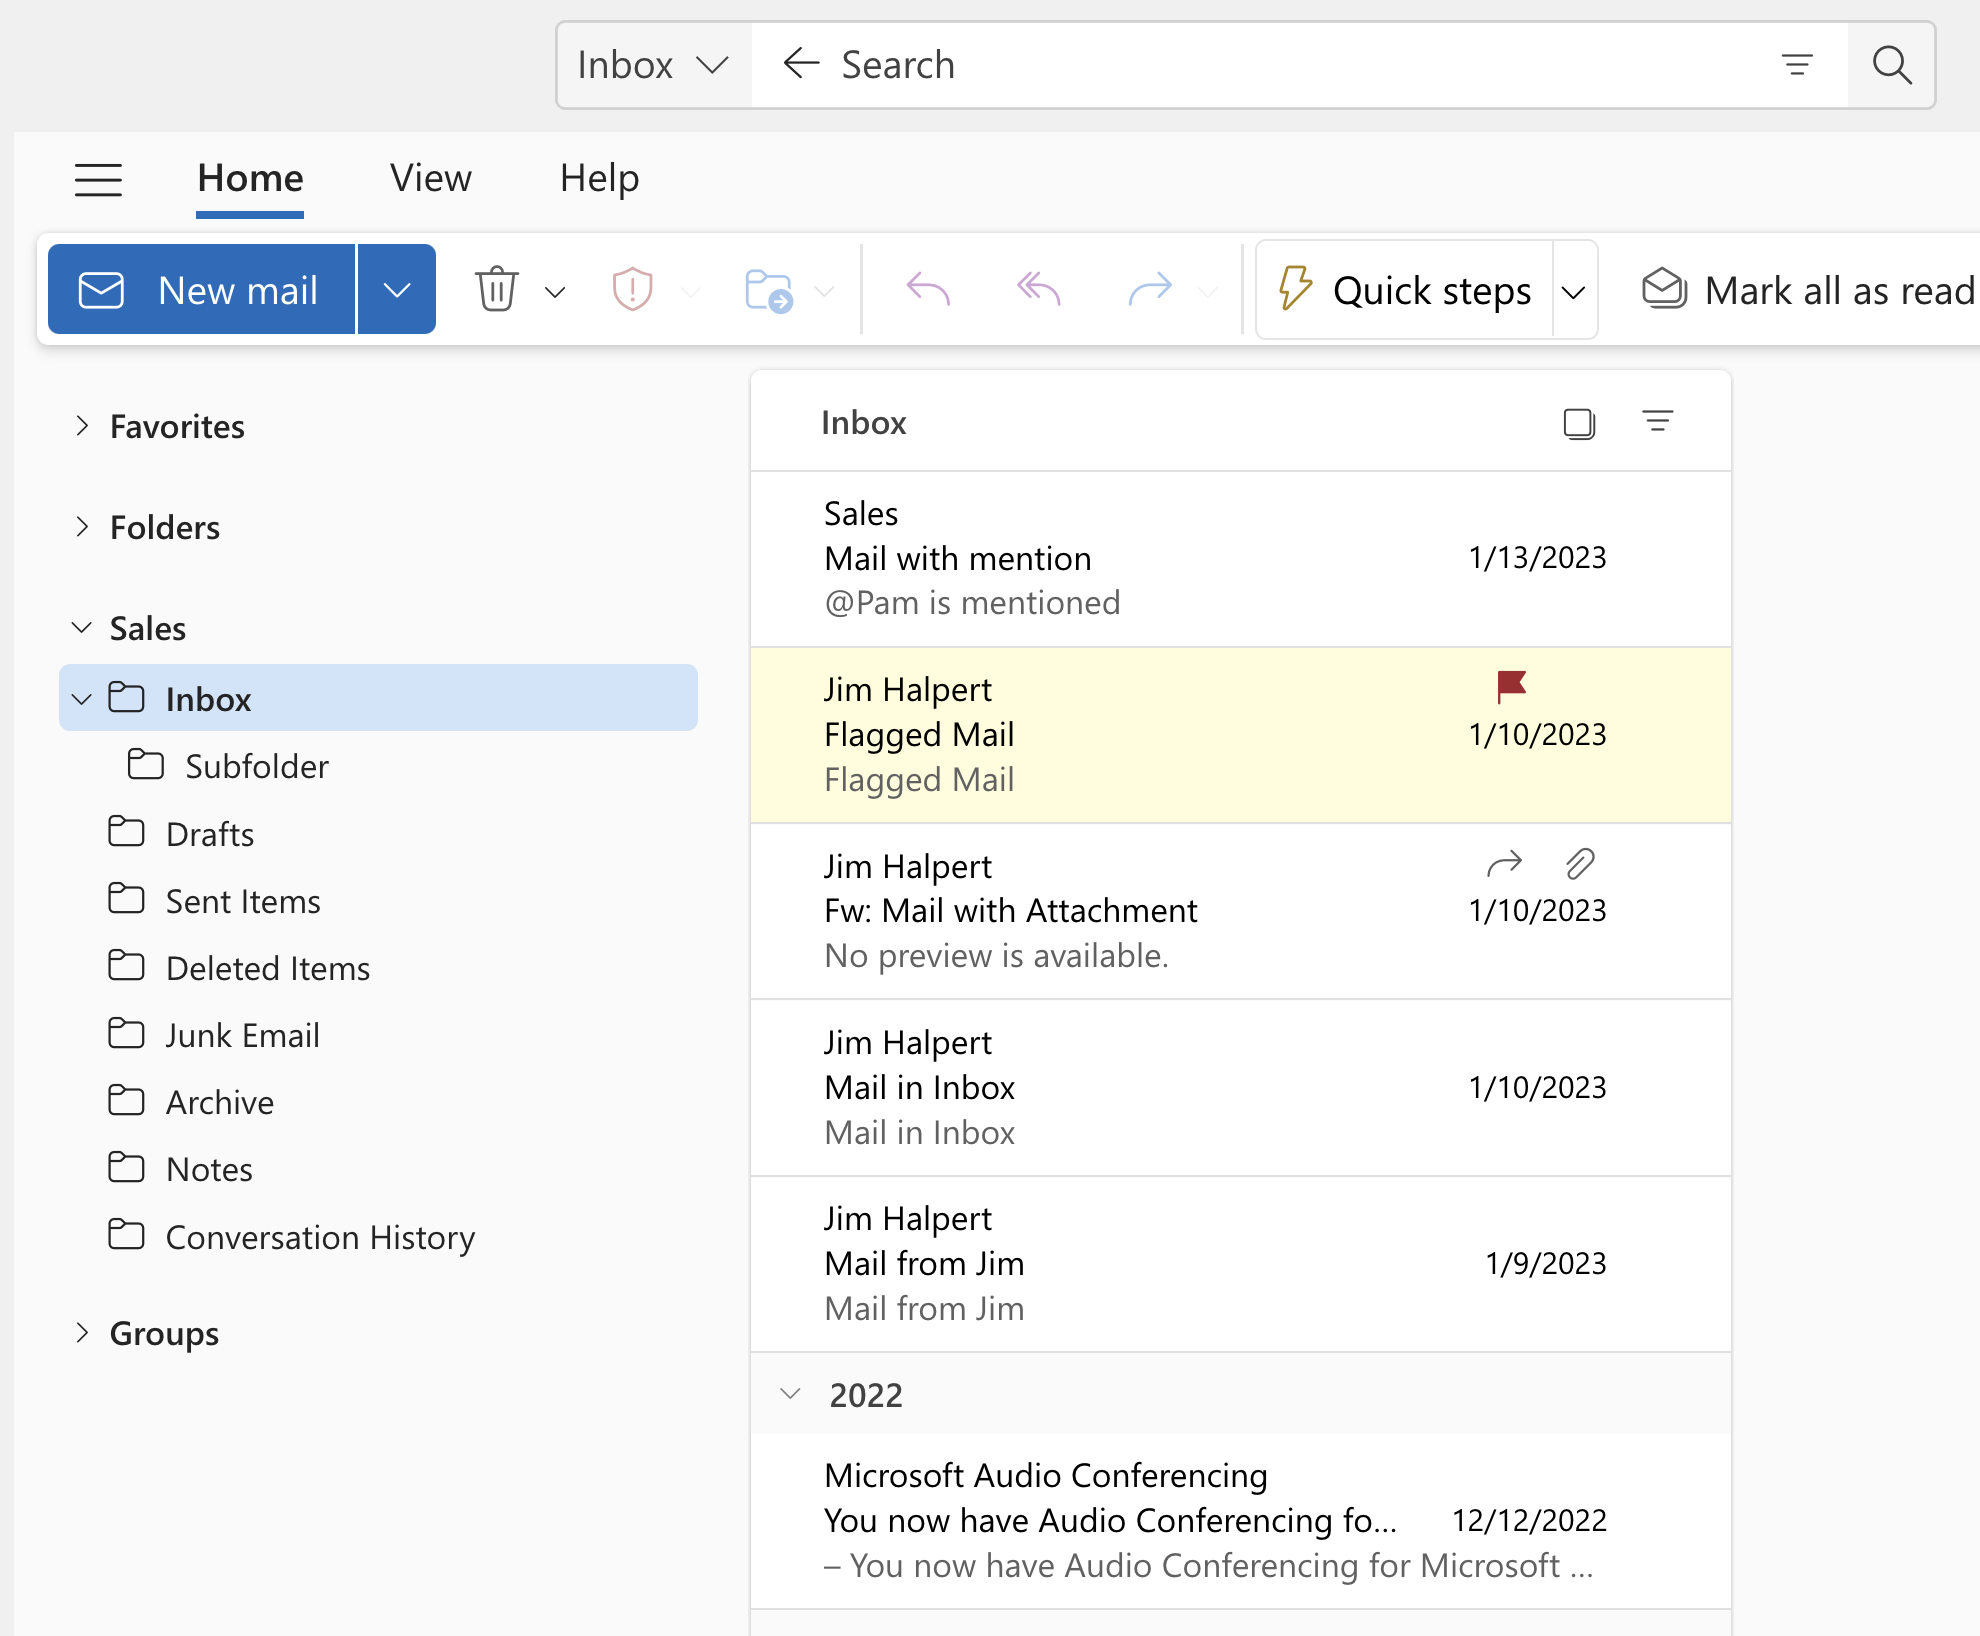
Execute the Search by pressing Enter or clicking on the Magnifier Button on the right of the Search Box.
The Message List will return results based on the Search from that selected folder on the Shared Mailbox.
Use the shared calendar
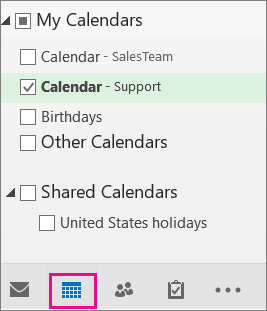
After your admin has added you as a member of shared mailbox, close and then restart Outlook. The shared calendar associated with the shared mailbox is automatically added to your Calendars list.
In Outlook go to calendar view, and choose the shared mailbox.
When you enter appointments, everyone who is a member of the shared mailbox will be able to see them.
Any member of the shared mailbox can create, view, and manage appointments on the calendar, just like they would their personal appointments. Everyone who is a member of shared mailbox can see their changes to the shared calendar.
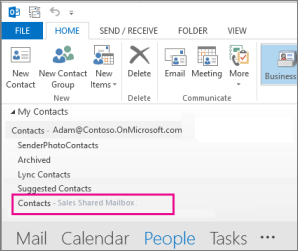
Use the shared contact list
After your admin has added you as a member of shared mailbox, close and then restart Outlook. The shared contact list associated with the shared mailbox is automatically added to your My Contacts list.
In Outlook, choose People.
Under My Contacts, choose the contacts folder for the shared contacts list.
Use a shared mailbox on a mobile device (phone or tablet)
To access a shared mailbox on a mobile device, use the following steps.
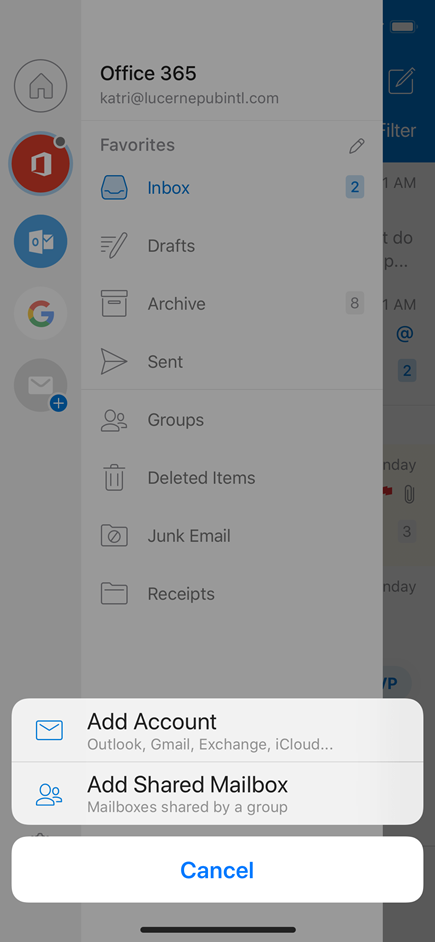
Sign in to your primary account in Outlook for iOS or Android.
Tap the Add Account button in the left navigation pane, then tap Add a Shared Mailbox.
If you have multiple accounts in Outlook Mobile, select the account that has permissions to access the shared mailbox.
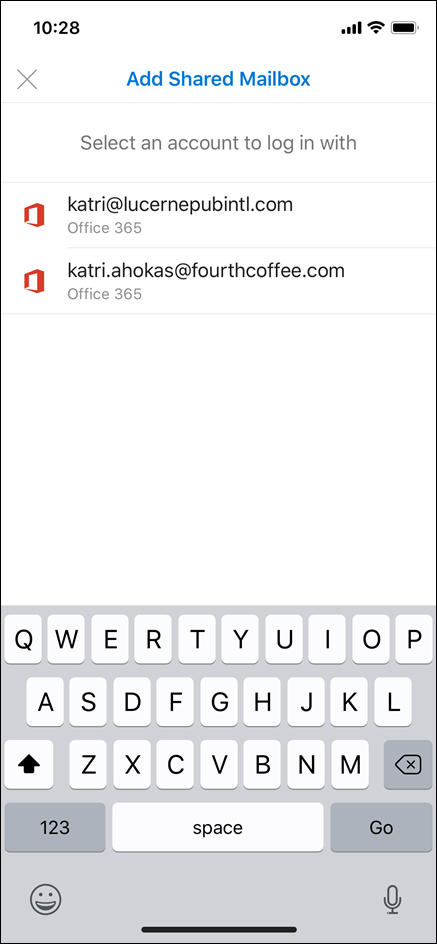
After the account setup process completes, the shared mailbox will display in your account list in Outlook for iOS or Outlook for Android.
To remove a shared mailbox, go to Settings > Accounts. Then tap on the shared mailbox and select Delete Account.
Send automatic replies from a shared mailbox
Only your Microsoft 365 admin has permissions to set this up. For instructions, see Create a shared mailbox.